Being a lover of textiles, especially those from Japan, I made sure I didn't miss the 'Boro - The Thread of Life' exhibition recently held at Kimono House in Melbourne.
Boro can be translated as 'rags' but the term is also used to describe pieces of clothing or household items that have been patched and repaired many times. The practice originated out of necessity - people in rural areas were poor and were not able to go out and buy new clothing or bedding, so existing items had to be patched and re-patched. Patching was done with whatever fabric the sewer had on hand - there was no conscious design and planning process - it was utilitarian patching. Fabric was precious - many pieces were originally hand loomed and hand woven and dyed with indigo or other botanic dyes. Carefully saved fabric swatches and boro would be passed on to the following generations to use.The repeated repairs made over generations resulted in unique pieces that often showcased various stitching techniques such as sashiko. These boro became pieces of family history and had great sentimental value.
The practice pretty much died out when mass-scale production became commonplace and as a result interest in these pieces dwindled. These days, however, they are recognised as a part of Japan's cultural history and are highly collectible.
Some of the pieces that were on display are shown below. I apologise for the poor quality photos - they were taken on my phone which is now at the very trailing end of technology.
A farmer's vest:
A child's kimono:
Some futon covers:
This following piece was pretty special. It is a farmwoman's jacket that had been carefully patched, sashiko stitched and then overdyed in natural indigo. The collar was replaced and and the patching of the body of the garment has been so carefully done that, when combined with the rows of sashiko stitching and the overdyeing, render the repairs almost invisible. It was so beautifully made.
It's interesting that everyday items, patched out of necessity to enable continued use, are now considered pieces of art. I think it's a reflection on our throw-away society and how little value most people place on things they own. Many of the pieces on display were over 100 years old and have seen many years of use. How common would that be today?
From a permaculture perspective I also appreciate the practicality and recycling nature of Boro - why discard something if it can be mended? And when it gets past being able to be mended for use in it's original purpose, it can still be of use as a patching material, or even a rag.
And finally from a textile lover's perspective I loved seeing the beautiful indigo pieces that were used as patching. The sewer used whatever fabric they had on hand but the end result is a harmonious piece that has it's own unique beauty.
In early February, we attended a basket making demonstration by Sue Dilley, president of Basketmakers Of Victoria. It was one of the many interesting events organised by our local permaculture group.
Sue took us through a wonderful display of different baskets made from native and exotic plant fibres.
She explained how to select and dry the plant material and gave us plenty of tips:
- Drying should be done in the shade
- If you don't plan to use your
dried plant material immediately, then it should be stored wrapped up in
butcher's paper to keep it clean and dry, and with the paper labelled
to identify contents.
- Vines - to be suitable for basketmaking they must be able to wrap around your finger 3 times without breaking
- Leaves should be generally be collected after the plant has flowered and then dried.
- Grasses - to dry these, spread them on newspaper and each day move the grass around so it dries completely
Some of the plant materials we discussed were:
Spinifex - Here's a basket Sue made from spinifex grass using a darning needle and cotton thread:
Watsonia - a weed in many areas, this can be collected when it dries on the plant. It has a lovely chestnut colour.
Cordyline - Cordyline australis is a tough fibre and can be collected as it drops off the plant. However if you pull it off when fresh the leaves will be in better shape (no stringy bits to them). Cordyline stricta is a lighter fibre than australis, but still good for basketmaking. Here's a basket Sue made from stricta:
Red Hot Poker(Kniphofia)- these should be collected green, after the plant has flowered
Bullrush - collect in January by cutting as low in the water as you can. Strip off the leaves and collect at the tip of the stalk, fold it over, tie and hang up to dry. You can see an example of how to tie the stalks in the picture below
Passionfruit vine - this can be used fresh or it can be coiled up until ready to use when it will need to be rehydrated slightly. Rehydration may take a couple of days if the vine is thick.
Here's a picture of a basket Sue made from passionfruit vine:
Fruit tree prunings are also a great basketmaking fibre. Sue had several examples of baskets she'd made from fruit tree prunings.
The basket below was made from apple prunings:
And this basket was made from olive prunings:
As an unexpected bonus, we all got to have a go at basket-making in the form of a small tension tray. As the name suggests, it is the tension between the branches that holds the tray together. Here's a tension tray Sue made from black willow:
Sue had kindly already cut and pre-soaked the cane for us to use. A quick demonstration and we jumped in and had a go.
Here's mine in progress:
And the finished product:
The whole experience was a lot of fun and we were very fortunate to have an expert such as Sue who was kind enough to give up her time to spend with us.
To finish this post I have to show you my favourite of all the baskets, one made from fallen Jacaranda leaf stalks. Isn't it gorgeous?
If you are interested in basketmaking, you should definitely check out the Basketmakers of Victoria website. They run a lot of events and classes where you can learn to make your own beautiful baskets.
At the end of January we harvested 6 full-sized frames of honey from our backyard hive. Not as much as last year, but hey, once we make sure we leave enough honey for the bees, we're happy with whatever excess we get.
Here's the result:
And here's the crushed, sticky comb that's left over after all the honey has drained through:
We'll turn that into clean wax. As you can see the comb was pretty dark and it didn't crush all that easily ...so we may have to try this technique to separate out the wax, rather than the more simple oven method described here. The final step will be to purify the wax using the solar method, as described here.
A while back we posted how we tried the technique of preserving olives in brine. Previously we've preserved fruit using a Fowlers Vacola - which cooks the contents of the jars - and also dehydrated fruit and tomatoes using various methods. Preserving olives was our first go at preserving using brine. We followed the recipe outlined in Preserving the Italian Way by Pietro Demaio with some slight modifications such as slitting the olives to speed up the process and not adding any herbs or spices to the brine. The recipe stated that the olives could be eaten after 6 months. As we slitted ours, they would have been ready earlier, but we still left them for about 6 months.
This week we opened one of the jars to have a taste. There was some gas buildup which could be due to the olives fermenting a bit or possibly indicating that the preservation technique hadn't worked properly and that the olives might be contaminated. There is a risk of dangerous contamination and food poisoning with any preservation technique. A quick check on the internet had several sources saying that some gassing with this technique was OK although one source said that the gas indicated we should throw them out. Feeling a bit more confident we went ahead and had a taste. We drained the brine off (by this point in the process it is very bitter) and rinsed the olives under running water before tasting a couple. They tasted great! Being cautious by nature, we waited a week - no trip to the hospital with botulism or other food poisoning observed - before deciding that the process had been a success for that jar at least :)
For the remaining jars, we made up a new brine solution. Our recipe recommended a 6% brine (i.e. 60 grams salt per litre of water). As was the case in the original recipe, the brine was poured hot into the jars and then they were sealed. According to the recipe we followed, these olives should store for a year.
The olives we tasted from the original jar were put into a fresh jar with olive oil. Yum!
We found that preserving olives in brine is a quick, inexpensive preservation method that keeps the shape and colour of the olives. A method we'll definitely be using again.
My ironing board cover had worn through and was in need of replacing. When a friend mentioned hers had worn out too, we figured we may as well have a go at making our own.
A rumage around in my small fabric stash turned up some heavy weight cotton I'd bought ages ago. There was enough to make 2 ironing board covers so we were set to go.
First step was to trace the shape of the ironing board onto the fabric. There was a bit of foam under the old cover so we used that as a guide. We added an additional few inches around the edge to allow for the cover to fold under the board and to make a casing for the elastic.
Once the cover had been cut out the next step was to overlock the edges.
Then it was time to make the casing for the elastic, leaving a gap at the end to insert the elastic and thread it through.
After the elastic was in place, the cover was fitted over the board and the ends of the elastic were tied in a knot. We then pulled the elastic tight, to fit the cover snugly on the board and used another knot to secure it in place. The elastic was then tucked out of sight into the edge of the cover under the board.
Et voila! The ironing board was ready for use again:
As you can see the whole process was pretty simple and it didn't take long.
It felt good to be able to make something we both needed out of resources we already had, rather than go out and buy it.
I recently spent a couple of days visiting family in Canberra. One thing Canberra isn't short of is bird life.
Sulphur-crested Cockatoos are everywhere. These large parrots were good at waking me up in the morning with their raucous squawking.
The pecking order at the bird feeders is definitely Sulphur-crested Cockatoos first. Feeding these birds can have its problems - they can become very destructive if their food supply becomes unavailable. Ripping the woodwork on houses to bits can quite often happen.
This King Parrot had to wait for the cockatoos to finish before he could have his turn.
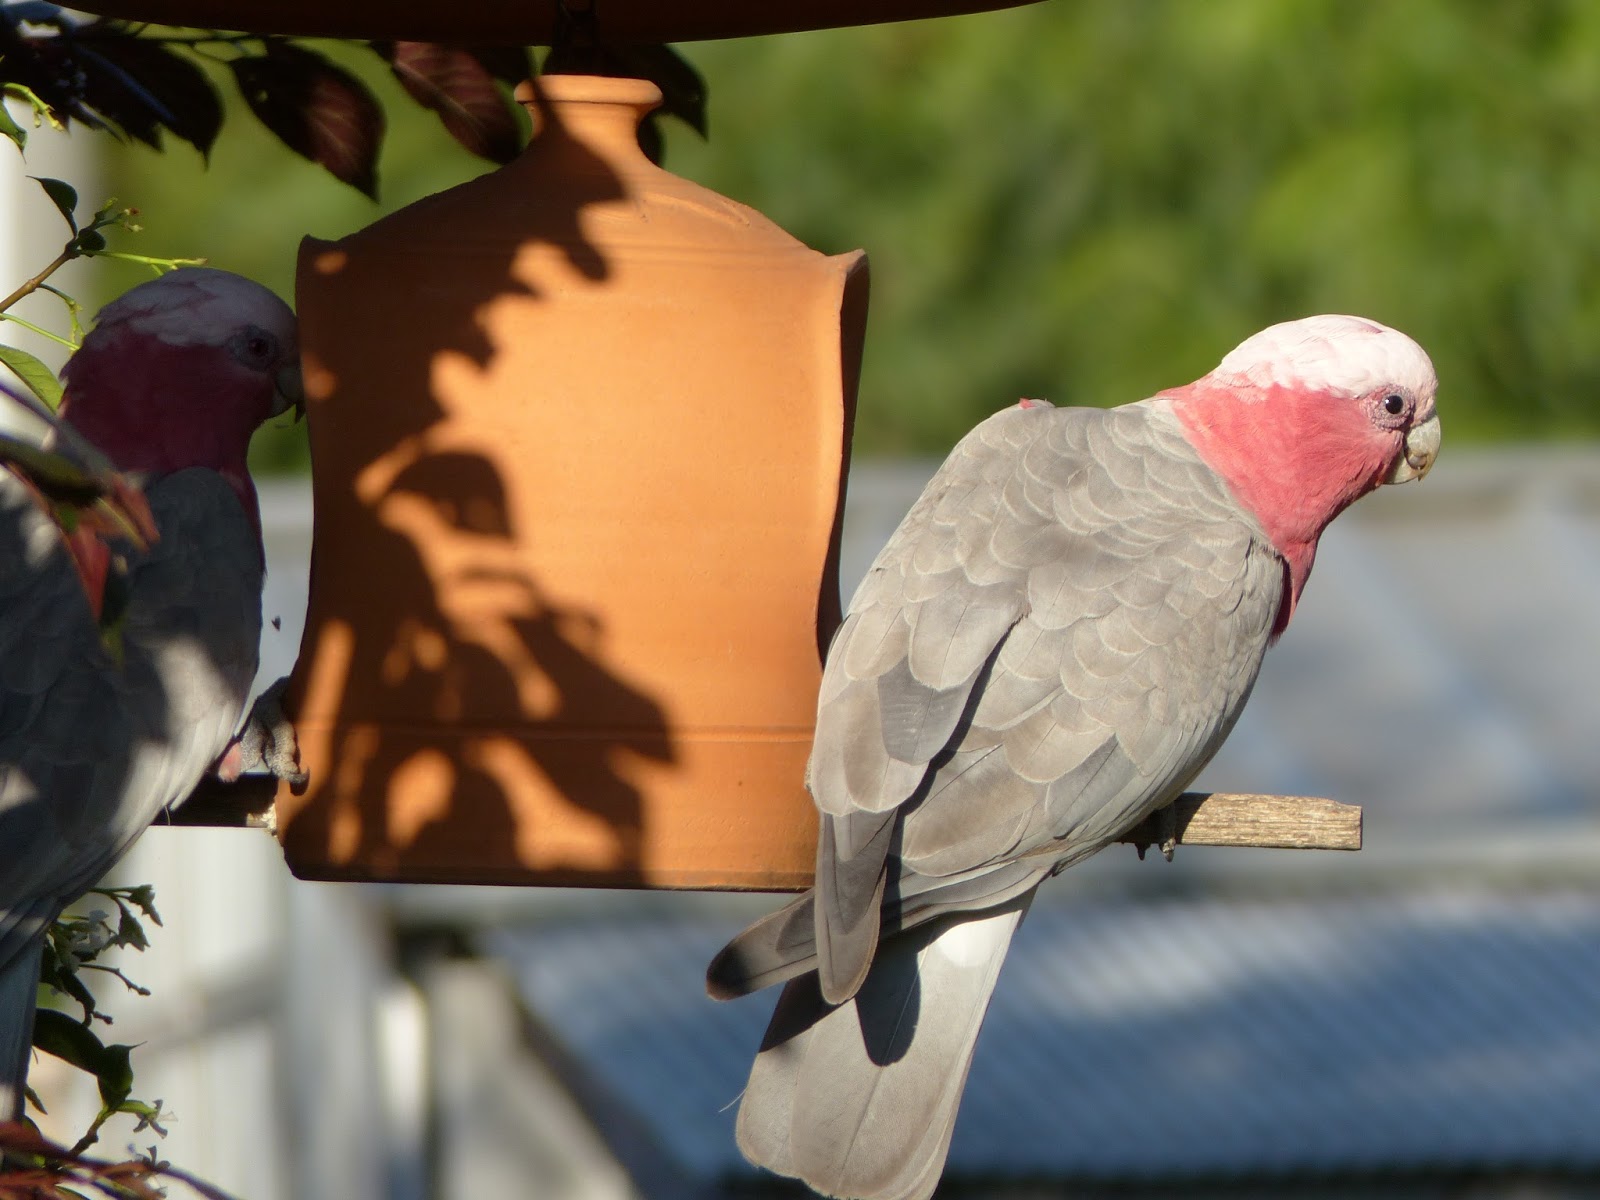
The Galahs are also pretty good at keeping the smaller birds, such as the Eastern Rosella,
away.
I also spotted these cuties which I think are Superb Parrots - the female is on the right and I think that's a juvenile on the left:
The male Superb Parrot is very handsome - green with a yellow face with a red throat. I saw one but wasn't quick enough to get a picture.
With a bit of free time on my hands last summer holidays I decided to teach myself to crochet. I got as far as making the 2 sides of a circular cushion:
Things ground to a bit of a halt as I searched around for a cushion insert to finish the project. I wasn't able to find one so the project got sidelined.
Summer holidays have rolled around again and I figured I'd better get this project finished. I had some quilt batting and some calico ready to make my own cushion insert. Two circles of calico were cut to the same size as the crochet circles. These were then sewn together leaving an opening in order to fill the cushion.
Circles of batting were cut and put inside the calico cover.
The leftover bits of batting went in too.
Then it was time to close it all up with a bit of hand sewing.
Next step was to crochet the edges of the cushion cover together. The 2 crochet circles were laid on top of each other, right sides facing out. The crochet hook was inserted through the edges of both of the crocheted circles to make a loop:
 The tip of the hook was placed in front of the yarn, then under and around it. The yarn was then caught in the lip of the hook and drawn through the loop.
This joined the 2 sides of the cushion, leaving 2 loops on the hook as shown above. The same process was repeated with these 2 loops.
The yarn was pulled through the 2 loops, leaving 1 loop on the hook:
A single chain stitch was then made and then the whole process was repeated until the cushion was sewn up. When I was 3/4 of the way around I placed the calico insert inside and then kept going.
For a first-ever crochet project, it turned out pretty well. Looks just like a cushion!
And it was nice to be able to tick one thing off the to-do list :)