My ironing board cover had worn through and was in need of replacing. When a friend mentioned hers had worn out too, we figured we may as well have a go at making our own.
A rumage around in my small fabric stash turned up some heavy weight cotton I'd bought ages ago. There was enough to make 2 ironing board covers so we were set to go.
First step was to trace the shape of the ironing board onto the fabric. There was a bit of foam under the old cover so we used that as a guide. We added an additional few inches around the edge to allow for the cover to fold under the board and to make a casing for the elastic.
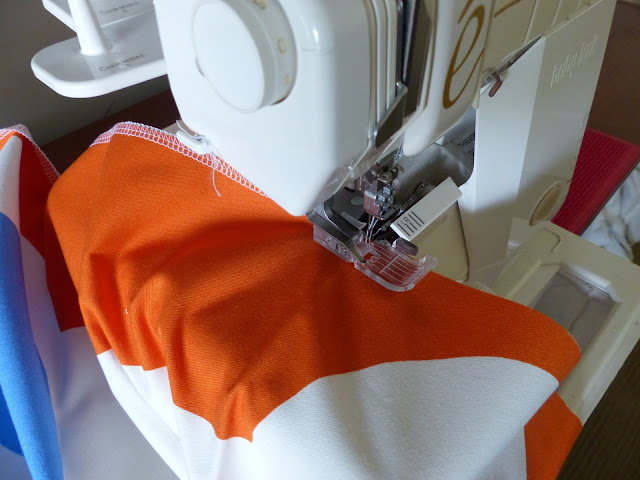
Once the cover had been cut out the next step was to overlock the edges.
Then it was time to make the casing for the elastic, leaving a gap at the end to insert the elastic and thread it through.
After the elastic was in place, the cover was fitted over the board and the ends of the elastic were tied in a knot. We then pulled the elastic tight, to fit the cover snugly on the board and used another knot to secure it in place. The elastic was then tucked out of sight into the edge of the cover under the board.
Et voila! The ironing board was ready for use again:
As you can see the whole process was pretty simple and it didn't take long.
It felt good to be able to make something we both needed out of resources we already had, rather than go out and buy it.


No comments:
Post a Comment